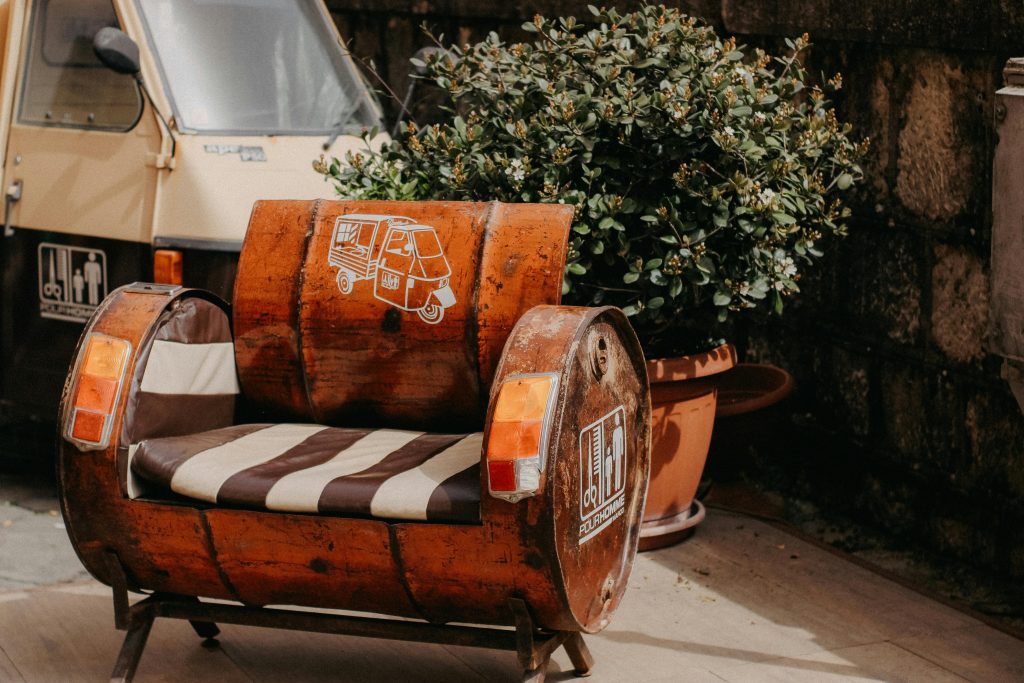
In a world where resources can be scarce, upcycling is a game-changer for preppers. Not only does it save money, but it also reduces waste and fosters creativity. By repurposing everyday items, you can create practical tools, storage solutions, and even survival gear—all while honing your self-reliance skills.
In this post, we’ll explore 10 upcycling ideas that are easy, affordable, and perfect for preppers. Whether you’re a seasoned DIYer or a beginner, these projects will help you make the most of what you already have.
1. Pallet Shelving Unit 🪜
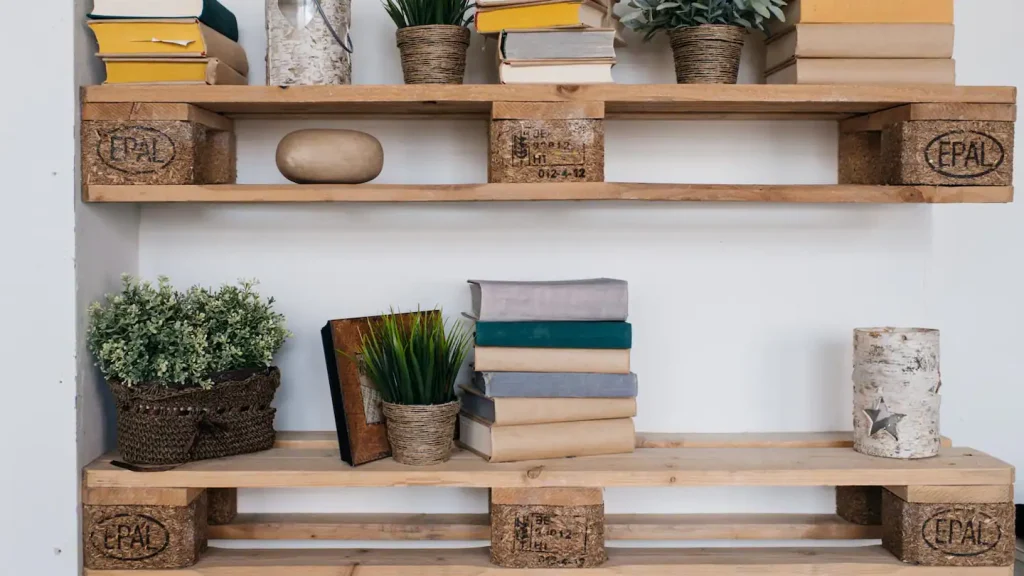
Materials Needed: Wooden pallet, sandpaper, screws, paint (optional).
Instructions:
- Disassemble the pallet and remove nails.
- Sand the wood to remove splinters.
- Cut the wood into equal-sized planks for shelves.
- Assemble the shelves using screws and a drill.
- Paint or stain for a finished look.
💡 For more pallet projects, check out The New Pallet Book: Ingenious DIY Projects for the Home, Garden, and Homestead in our Survival Library.
2. DIY Rain Barrel from an Old Trash Can 🛢️
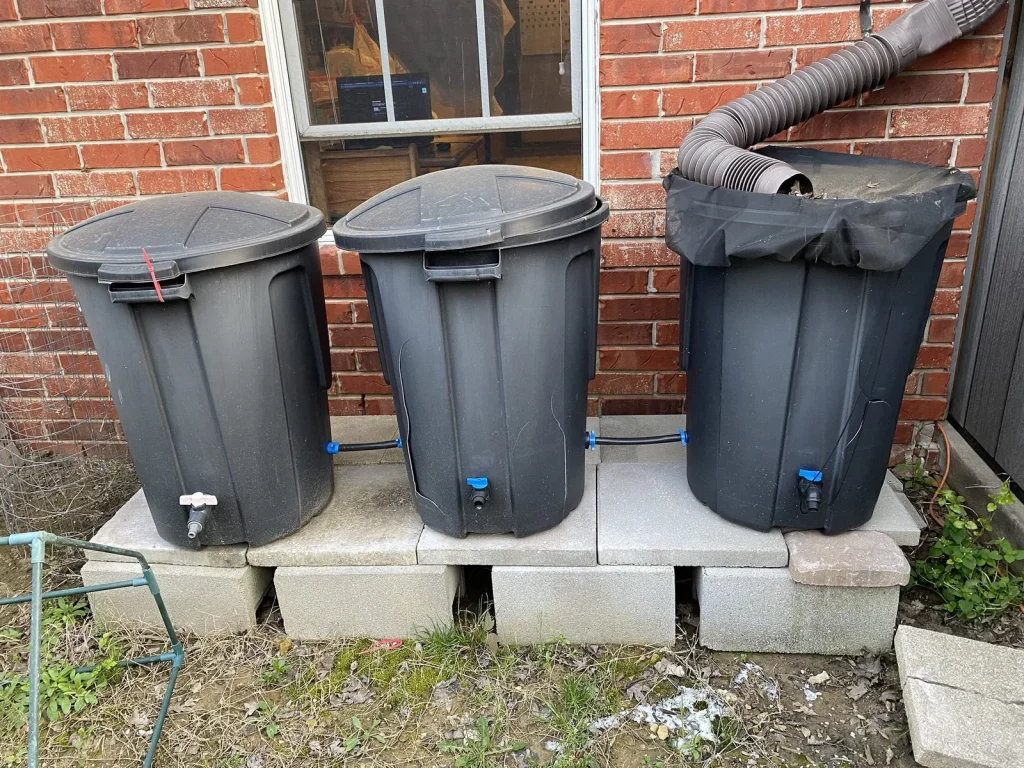
Materials Needed: Plastic trash can, spigot, drill, mesh screen, hose.
Instructions:
- Drill a hole near the bottom of the trash can for the spigot.
- Install the spigot and secure it tightly.
- Cut a hole in the lid and cover it with mesh screen to keep debris out.
- Place the barrel under a downspout to collect rainwater.
- Elevate the barrel with cinder blocks to allow water to more easily flow out of the spigot.
⚠️ Note: Use this water for gardening only unless thoroughly cleaned and sanitized.
3. Tool Organizer from Food Cans 🥫

Materials Needed: Empty food cans, sandpaper, paint, screws, wooden board.
Instructions:
- Clean and remove labels from the cans.
- Sand the edges to prevent cuts.
- Paint the cans for a polished look.
- Screw the cans onto a wooden board in a row or grid pattern.
- Mount the board on a wall or workbench to organize tools, nails, or screws.
4. T-Shirt Tote Bag 👕
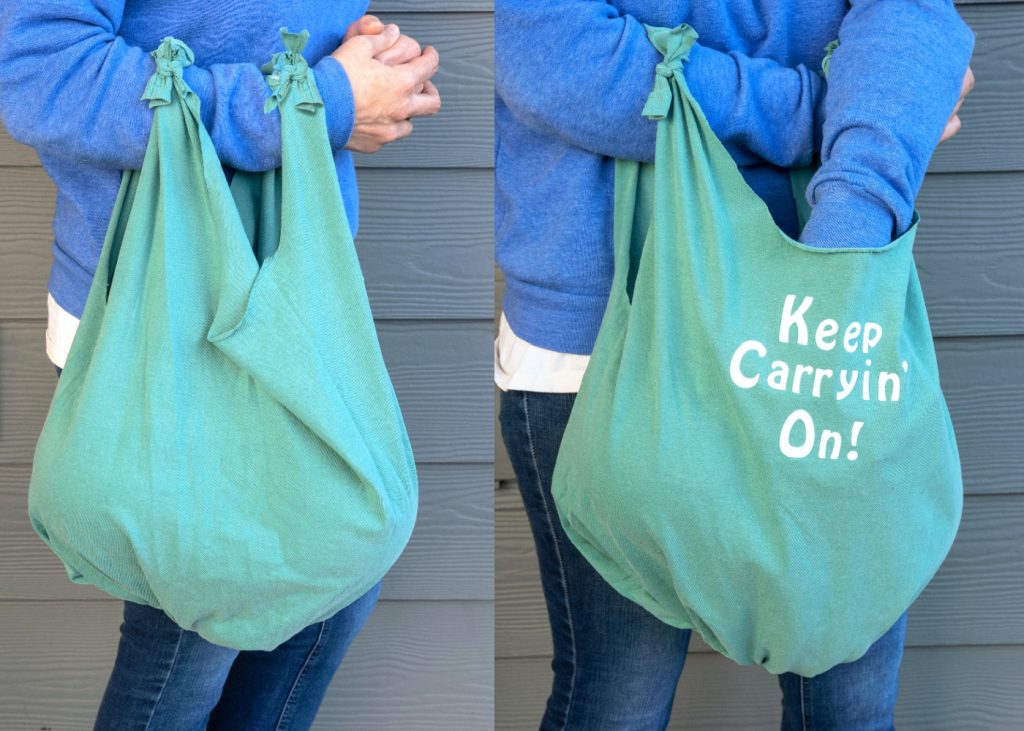
Materials Needed: Old t-shirt, scissors.
Instructions:
- Cut off the sleeves and neckline of the t-shirt.
- Cut fringe along the bottom hem, about 3-4 inches long.
- Tie the fringe into knots to create the bottom of the bag.
- Use the remaining fabric as handles.
Perfect for carrying supplies or storing lightweight items!
5. Mason Jar Organizer 🫙
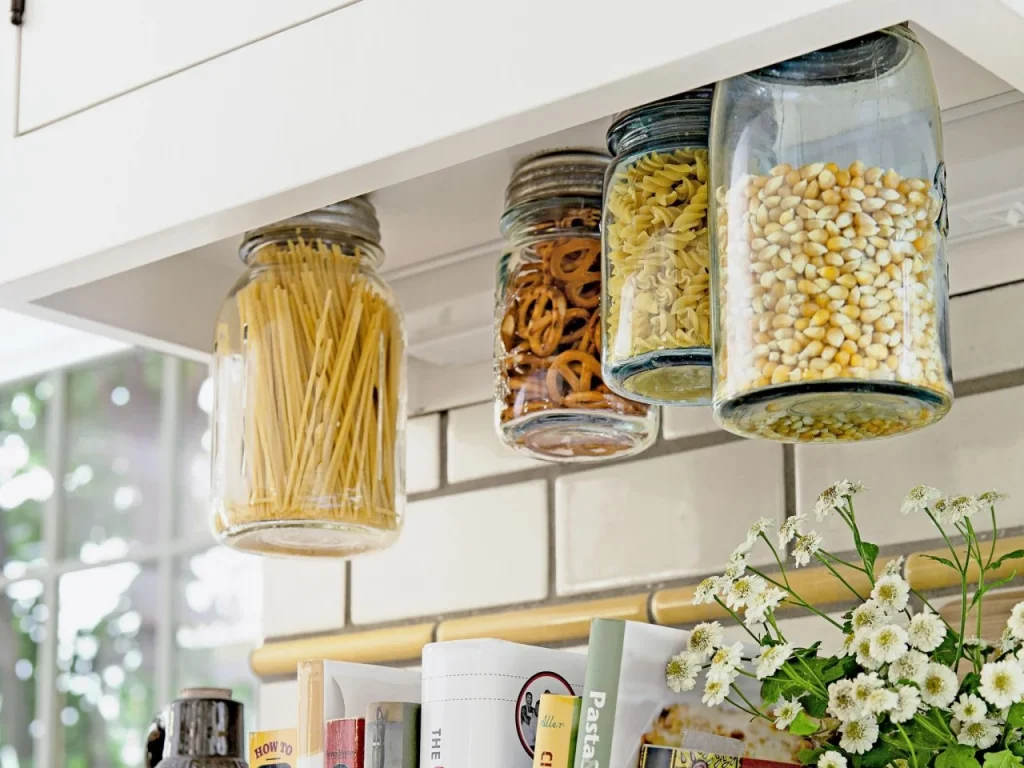
Materials Needed: Mason jars, wooden board, screws, drill.
Instructions:
- Screw the jar lids onto the wooden board.
- Fill the jars with small items like nails, screws, or spices.
- Twist the jars into the lids to secure them.
- Mount the board on a wall or inside a cabinet for easy access.
6. DIY Fire Starters from Dryer Lint 🧶
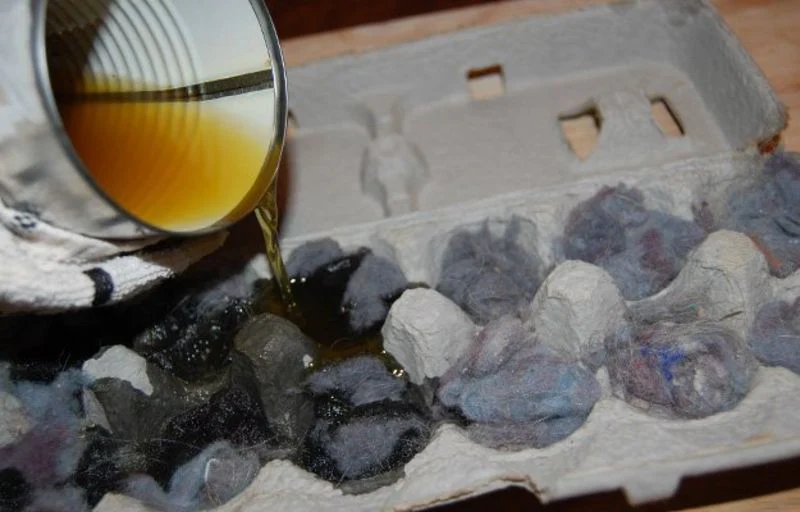
Materials Needed: Dryer lint, cardboard egg cartons, wax.
Instructions:
- Fill each section of the egg carton with dryer lint.
- Melt wax (old candles work great) and pour it over the lint.
- Let the wax harden, then cut the carton into individual fire starters.
- Use them to ignite campfires or emergency stoves.
7. Plastic Bottle Planters 🪴
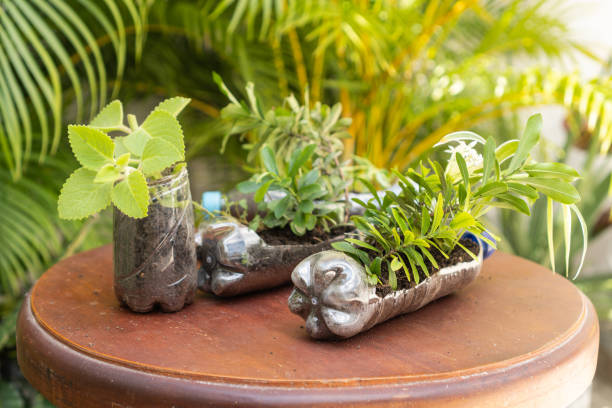
Materials Needed: Plastic bottles, scissors, soil, plants.
Instructions:
- Cut the top third off a plastic bottle.
- Poke drainage holes in the bottom.
- Fill with soil and plant herbs or small vegetables.
- Hang or place the planters in a sunny spot.
Great for growing herbs indoors or in small spaces!
8. Old Tire Garden Bed 🛞

Materials Needed: Old tire, soil, plants.
Instructions:
- Clean the tire thoroughly.
- Place it in your desired location.
- Fill it with soil and plant flowers or pollinator-friendly shrubs.
- While you can plants veggies or herbs, there is always a risk of chemical leaching from the tire so it’s usually better safe than sorry.
- Stack multiple tires for a raised garden bed.
9. DIY Compost Bin from a Plastic Tote 🗑️
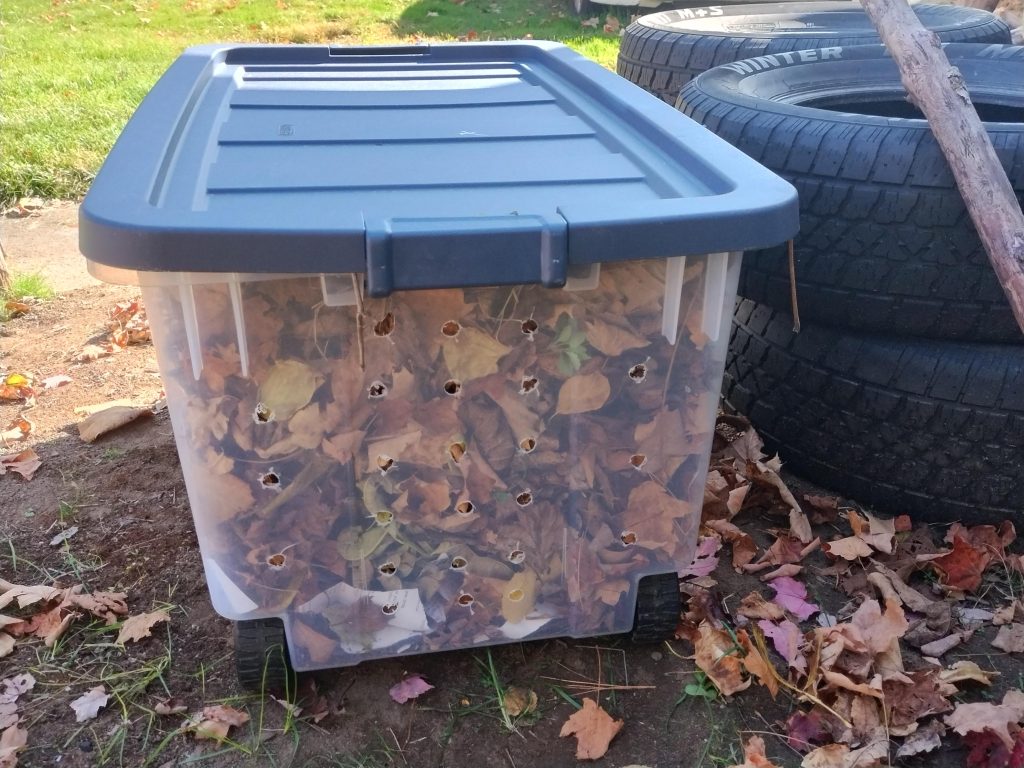
Materials Needed: Plastic storage tote, drill.
Instructions:
- Drill holes in the lid and sides of the tote for airflow.
- Add kitchen scraps, yard waste, and soil to the bin.
- Stir the contents occasionally to speed up decomposition.
- Use the compost to enrich your garden soil.
10. Candle Holders from Tin Cans 🕯️
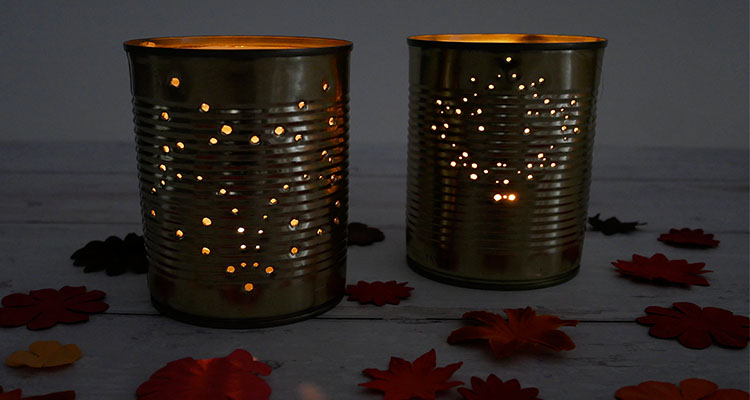
Materials Needed: Tin cans, hammer, nail, tea lights.
Instructions:
- Clean and remove labels from the cans.
- Use a hammer and nail to punch decorative holes in the sides.
- Place a tea light inside the can.
- Light the candle and enjoy the ambient glow.
YouTube Playlist: Upcycling Tutorials
▶️ For step-by-step visual guides, check out our curated playlist of upcycling tutorials:
Final Thoughts
Upcycling is more than just a way to save money—it’s a mindset of resourcefulness and creativity. By repurposing everyday items, you can create practical tools, storage solutions, and even survival gear while reducing waste. These projects are perfect for preppers looking to build self-reliance and sustainability.
Start small, think creatively, and remember: the best resources are often the ones you already have.
Join the Conversation
💬 What’s your favorite upcycling project? Have you tried any of these ideas or have your own to share? Let us know in the comments below! 👇
Navigation: 🏠 Home | 📚 Library | More 🌱 Self-Reliance & Sustainability
